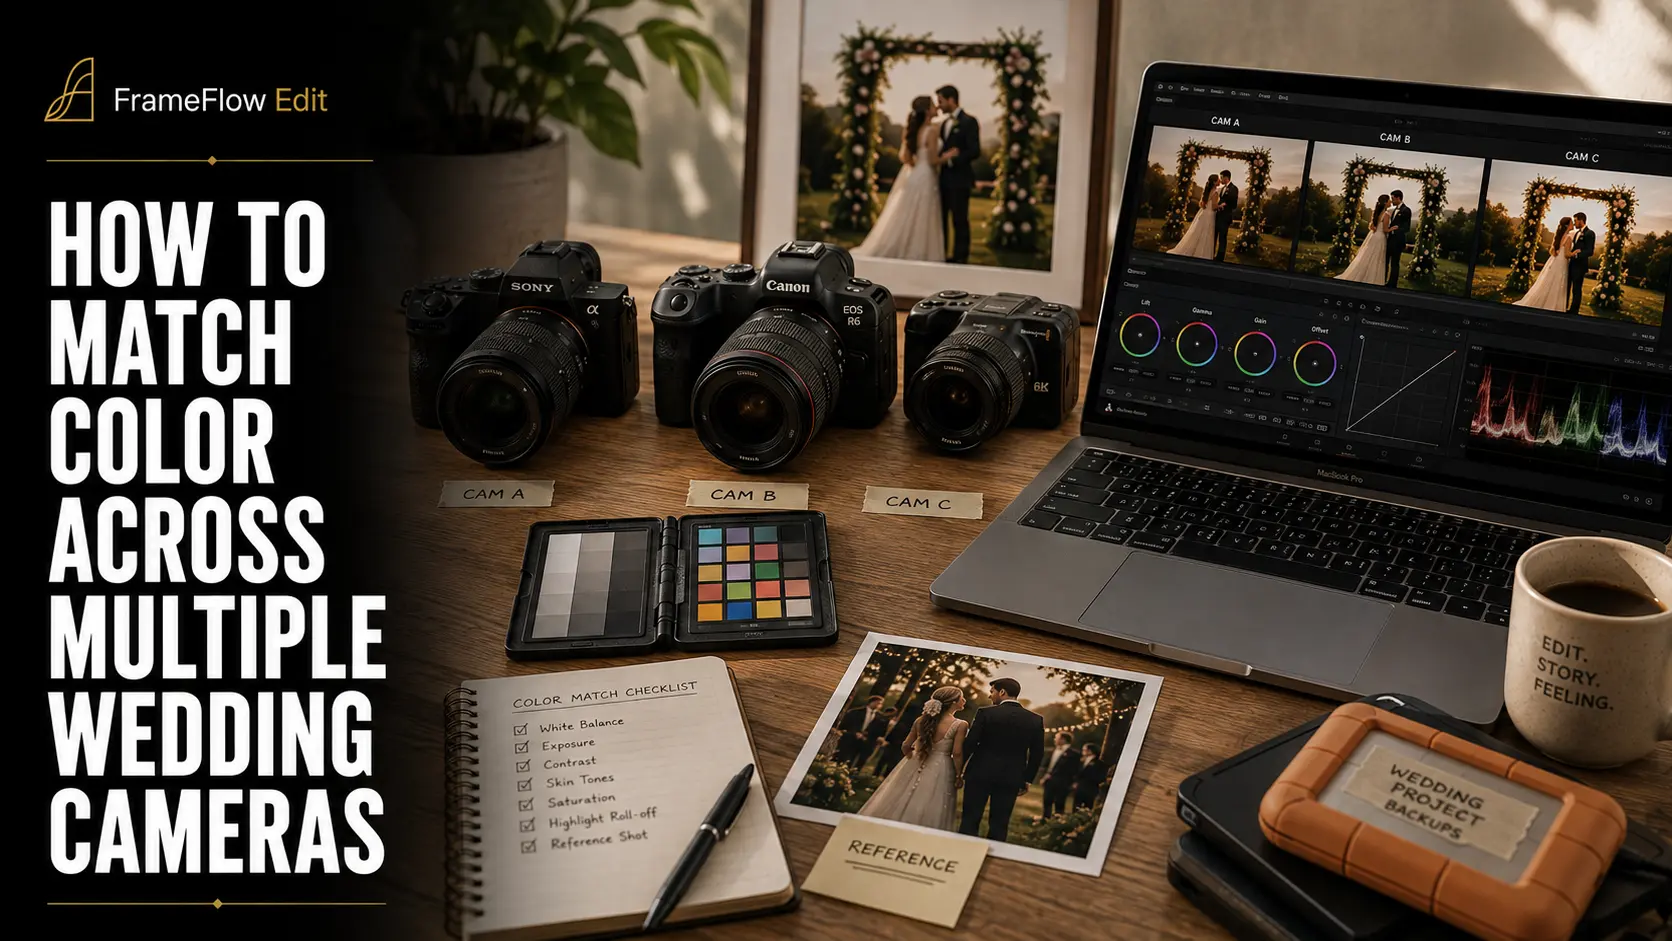
A wedding day rarely runs on one camera. There's an A-cam on the aisle, a second shooter drifting through the reception, maybe a drone pass at golden hour, and a third body backing up ceremony angles from the balcony. Each of those bodies records its own flavor of log footage, and if nobody agrees on a shared color starting point before the files leave the venue, the editor inherits the mismatch. For a studio that outsources editing, that mismatch is expensive in a way pricing pages never mention: it turns a one-pass color grade into a shot-by-shot rescue job, and it's one of the fastest ways to blow a 12-day turnaround before the edit has even started.
This isn't a colorist's problem to solve alone. It starts on set, with what each operator sets their camera to before pressing record, and it's fixable with a short shared checklist rather than a post-production miracle. Here's what actually causes the mismatch, how the major log formats differ, and what to standardize across a multi-camera wedding team so footage arrives at the edit — in-house or outsourced — already speaking the same visual language.
Why Color Consistency Breaks Before It Ever Reaches Your Editor
Color mismatch on a multicam wedding shoot almost never starts in the edit bay. It starts hours earlier, when two or three operators each make an independent decision about picture profile, white balance, and exposure without checking what the others are doing.
A typical breakdown looks like this: the primary shooter is on a Sony body in S-Log3, dialed in for the shaded ceremony interior. The second shooter is on a Canon body left in Canon Log 3 from the last job, shooting direct sun on the reception patio. A third camera — often a cheaper backup body or an action cam for a detail shot — is recording in a flat consumer log profile nobody bothered to name. None of these are wrong choices in isolation. Together, without a shared reference, they generate three different starting points for the same wedding day, and every cut between them shows on a client's screen, not just a colorist's scope.
The cost shows up twice. First, in the edit: a colorist has to identify each source, apply the correct input transform per camera, and manually balance them against each other before any creative grade can begin — work that a single-camera project skips entirely. Second, in the relationship with an outsourced editor: vague or missing camera metadata forces guesswork, and guesswork is where turnaround slips and revision rounds multiply. A studio that hands off clearly labeled, correctly normalized footage is asking for a grade. A studio that hands off three unlabeled log flavors is asking for a rescue.
The break points repeat across almost every multi-operator wedding shoot, which is exactly why they're worth standardizing once instead of re-solving on every job:
None of these require expensive gear to fix. They require a shared default that every operator on the team uses unless there's a specific creative reason to deviate — and a habit of writing that default down before the first camera rolls.
What "Color Profile" Actually Means: Log Curves, LUTs, and Gamut in Plain Terms
Three terms get used almost interchangeably on set, and conflating them is where a lot of the confusion starts.
A log (logarithmic) gamma curve is how the camera encodes brightness values to preserve as much dynamic range as possible for later grading. It's the reason log footage looks flat and desaturated straight off the card — the highlights and shadows haven't been "spent" yet, they're compressed into the mid-tones so nothing clips prematurely. Sony's S-Log3, Canon's Canon Log 3, and Panasonic's V-Log are each their manufacturer's version of this same idea, tuned differently for their own sensors.
A color gamut defines the range of colors a camera can actually capture, independent of brightness. Sony pairs S-Log3 with S-Gamut3 or S-Gamut3.Cine; Panasonic pairs V-Log with V-Gamut; Canon pairs its Log curves with Cinema Gamut. Two cameras can be set to a similarly "flat" log curve and still disagree on gamut, which shows up as different reds, skin tones, and greens even after exposure is matched.
A LUT (look-up table) is a fixed mathematical transform applied to footage — either a technical LUT that converts a camera's specific log/gamut combination into a standard viewing space like Rec.709, or a creative LUT that applies a stylized look on top of that. The order matters: apply a creative LUT before the technical conversion is done, and the creative grade amplifies whatever mismatch already exists between cameras instead of sitting evenly across them. Technical conversion first, creative look last, is the rule every colorist working with mixed cameras follows for a reason — and it's the same principle DaVinci Resolve's own color management is built around, whether it's applied through a manual technical LUT or a Color Space Transform node set to the camera's exact input space.
One more distinction worth keeping straight: color management at the project level (telling the software what space each clip is in, and letting it handle conversion automatically) and manually applying input LUTs clip-by-clip are two different ways of reaching the same result. Mixing both on the same clip — applying a technical input LUT and leaving project-level color management switched on — is a common way footage gets normalized twice, which usually looks worse than not normalizing it at all. Pick one method per project and stay consistent.
S-Log3 vs Canon Log 3 vs V-Log: How the Three Big Log Formats Differ
Most wedding teams mix bodies from two or three of these families over the course of a season, if not on the same day. Knowing the practical differences — not just the marketing names — helps a studio pick sane defaults and explain to an editor why a clip looks the way it does before grading starts.
The practical takeaway for a multicam wedding shoot: these three curves are not interchangeable defaults, and none of them is objectively "correct" to standardize the whole team on if the team owns mixed-brand gear anyway. Mixing them without normalizing each to a common reference space first is what produces the "two different movies cut together" look — inconsistent skin tones and contrast that shift every time the edit cuts between cameras, even when exposure looks fine on each camera's own screen in the field. The fix isn't picking one "best" log format across a whole team — it's applying the correct manufacturer-published input transform per camera, every time, before any creative decision is made downstream.
It's also worth noting these curves get revised. Sony's S-Log3/S-Gamut3.Cine combination replaced S-Log2 specifically because of its improved gradation in shadows and mid-tones; Canon's newer Log 2 and Log 3 curves extended dynamic range meaningfully past the original Canon Log. A studio standardizing camera defaults once a season should double-check that the LUTs and settings on file still match the current generation of curve their bodies actually shoot — an S-Log2 LUT applied to S-Log3 footage, or vice versa, produces a visibly wrong result that looks like a lighting problem rather than a settings mismatch.
Build a Camera Profile Sheet Your Whole Team Follows
The single highest-leverage fix for multicam color drift costs nothing and takes about ten minutes to set up: a one-page profile sheet every operator on the team references before a job, and fills in during it.
This sheet travels with the footage. Whether the studio grades in-house or hands the project to an outsourced editor, it answers the first three questions any colorist asks before touching a color wheel: what camera shot this, what profile was it in, and was white balance locked or floating. Skipping this step is one of the most common reasons an outsourced edit needs an extra revision round — not because the editor made a bad creative call, but because they had to guess a technical fact that should have shipped with the footage in the first place.
A profile sheet doesn't need to be elaborate. A shared spreadsheet template, filled in for each body at the start of the day and dropped into the delivery folder alongside the footage, is enough. The value isn't in the format — it's in making the habit non-optional across every operator on every job, including freelance second shooters who aren't on staff and won't otherwise know the studio's defaults.
On-Set Habits That Keep Footage Matchable Later
A profile sheet only works if what's written on it is actually true of the footage. A handful of on-set habits keep the two in sync without adding meaningful time to a wedding day.
Lock white balance manually, per scene. Auto white balance is convenient but it drifts continuously, including mid-clip, which no single color correction node can undo cleanly after the fact. Setting a Kelvin value for each lighting scenario — outdoor ceremony, dim reception interior, string-lit tent — and having every operator match it, or note where they intentionally deviated, removes one of the biggest sources of shot-to-shot inconsistency an editor will otherwise have to fix by hand.
Shoot a reference frame at the start of each new lighting setup. A few seconds of a gray card, or any neutral surface already in frame — a tablecloth, a light shirt, a printed program — gives an editor a reliable white balance and exposure anchor for that scene. It costs nothing and it's the fastest way for a colorist to confirm, rather than guess, what "neutral" should look like under that specific light.
Agree on an exposure philosophy before the day starts, not during it. Exposing log footage further to the right (brighter) preserves more shadow detail but risks blown highlights in the mixed indoor/outdoor light common at weddings; exposing closer to a standard reference is safer under fast-changing light but sacrifices some shadow latitude. Either approach works on its own — the problem is two operators using different approaches on the same day without knowing it, which produces clips that need different amounts of correction to land in the same place.
Keep picture profiles factory-labeled, not customized into something unrecognizable. A camera left on a heavily modified custom picture profile from a previous personal project, with no note of what was changed, is one of the most common causes of a mismatched clip an editor can't identify or correct efficiently. If a custom profile is genuinely needed for a specific shot, it belongs on the profile sheet with a plain description of what changed and why.
Standardize monitor and viewfinder settings across operators where possible. If one operator is judging exposure and color on an uncalibrated field monitor and another is judging it on a stock camera LCD at full brightness outdoors, they're making different decisions from different references, even with identical camera settings. This matters less than the habits above, but it compounds them.
What to Normalize Before Handoff — and What to Leave to Your Editor
Not every color decision belongs on set. The goal of pre-handoff normalization is to remove ambiguity, not to pre-grade the wedding — that's the editor's job, and doing it twice wastes both the studio's time and the outsourced editor's.
A studio that tries to pre-grade footage before sending it to an outsourced editor — baking a LUT into an export, for example — often does more harm than good: it removes the flexibility the editor needs to correct exposure or white balance issues, and it can double-apply a normalization the editor's software also expects to perform, producing a washed-out or oversaturated result that's harder to fix than starting from flat log footage would have been. Clean, correctly labeled, ungraded log footage with an accurate profile sheet is a more useful handoff than a pre-graded file with no room left to fix mistakes. For the full outsourcing conversation — what a colorist actually needs from a studio to grade efficiently, beyond just color — see how to brief your colour grade when you outsource.
Tools That Make Multicam Color Matching Faster
None of the tools below are required to fix multicam drift — the profile sheet and on-set habits above do most of the work for free. But for a studio scaling past two cameras regularly, a few tools shorten the matching process meaningfully.
Resolve's Color Space Transform node is the workhorse here: it lets an editor set the exact input color space and gamma per camera — S-Log3/S-Gamut3.Cine, Canon Log 3/Cinema Gamut, V-Log/V-Gamut — and normalize all of them to one working space before any grading begins, using the same clean underlying math the software's built-in color management relies on. Automatic Shot Match tools are useful for a fast first pass, especially under deadline pressure, but they still benefit from a human check against scopes: automated matching can misread a scene with an unusual color bias — a heavily colored venue wall, colored uplighting at a reception — as the camera's fault rather than the environment's, and "correct" something that didn't need correcting.
None of this tooling replaces the on-set habits earlier in this guide. A color chart and Resolve's Shot Match tool make an already-reasonable multicam shoot faster to grade; they don't rescue a shoot where three cameras were run with no shared reference at all. The tools shorten the distance between "labeled correctly" and "graded," not between "unlabeled chaos" and "graded."
Frequently Asked Questions
Do all our cameras need to shoot the same log profile to look consistent?
No. What matters is that each camera's actual log profile and gamut are known and correctly labeled, so the editor can apply the right technical transform to each one. Mixing S-Log3 and V-Log bodies on the same wedding is completely normal and correctable, as long as nobody is guessing which camera shot which clip.
Is it okay to use auto white balance to save time on the day?
It's workable but it adds correction work later, since auto white balance can drift within a single clip in a way that requires manual keyframing to fix. Locking a Kelvin value per lighting setup, and noting it on the camera profile sheet, is a small on-set habit that saves meaningfully more time in the edit than it costs during the shoot.
Should we bake a LUT into our footage before sending it to an outsourced editor?
Generally no. A baked-in LUT removes the flexibility a colorist needs to correct exposure or white balance issues, and it can conflict with the normalization step the editor's software is also set up to do. Sending clean, correctly labeled log footage with a profile sheet gives the editor more room to deliver a clean grade in fewer revision rounds.
How much does mismatched multicam footage actually cost in editing time?
There's no fixed number — it depends on how far off the cameras are and how many clips are affected — but mismatched, unlabeled multicam footage reliably adds grading time compared to correctly labeled, normalized footage, because the colorist has to identify each source and build a per-camera correction from scratch instead of working from a known starting point. That extra time is exactly what a camera profile sheet is designed to avoid.
Do we need a physical color chart to keep cameras matched?
It helps but it isn't mandatory. A color chart shot at the start of each lighting setup gives the most reliable reference for matching, but a plain neutral surface already in frame — a tablecloth, a light shirt — plus consistent white balance discipline gets most studios most of the way there for free.
What's the single biggest fix if our team is already inconsistent?
Start with the camera profile sheet, not new gear. Most multicam mismatch traces back to undocumented settings — a second shooter's camera left on the wrong profile, or nobody knowing whether white balance was locked — rather than a hardware limitation. A one-page sheet that every operator fills in before the ceremony fixes more of the problem than any LUT pack or calibration chart on its own.
What to Send Your Editor So They Don't Have to Guess
The through-line across every section above is the same: color consistency across multiple wedding cameras isn't primarily a grading skill, it's a labeling and communication discipline that starts before the first camera rolls. A studio doesn't need every operator shooting identical gear or identical settings — it needs every operator's settings written down, consistent within their own camera, and handed to whoever grades the footage next, in-house or outsourced.
Concretely, a clean handoff bundle includes a filled-in camera profile sheet per operator, footage labeled or foldered by camera and scene, a note on any intentionally non-standard white balance or exposure choices, and confirmation that no creative LUT was baked into the footage before delivery. None of this requires new equipment or a bigger budget — it requires making a ten-minute habit mandatory across every operator on every job, including freelance second shooters who don't already know the studio's defaults.
Paired with correctly synced multicam audio and clearly organized footage — see how to sync multicam wedding footage before handoff and the broader wedding footage hand-off checklist — this is the difference between an editor who opens a project and starts grading immediately, and one who spends the first hours of a turnaround window just figuring out what they're looking at. The studios that get the fastest, cleanest outsourced grades aren't necessarily shooting on matched gear; they're the ones whose footage never leaves the operator guessing what camera it came from.